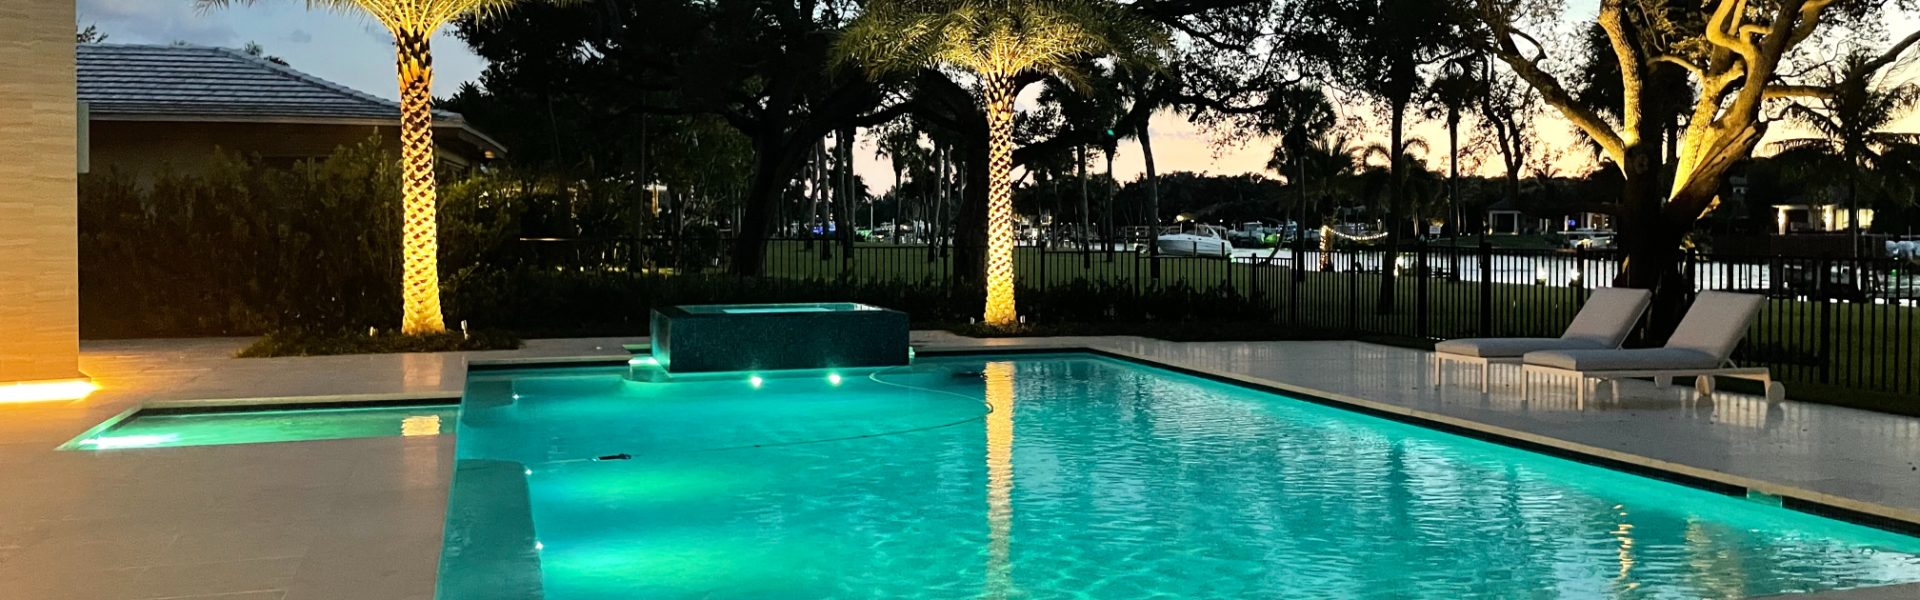
Pool Builds
Step 1
Project Design & Proposal
The first step in the construction process is an initial meeting between the client and our sales team. During this meeting, we will find out what you, as the client, are looking for in the overall pool, and/or spa layout. All of our pools are designed specifically for each individual customer. Plans from architects or landscapers are also welcome. The salesperson will then take a detailed survey of the proposed area to include home and lot, dimensions, positioning, building, setbacks, location of utilities, and accessibility to the construction site. Within a week, our design technician will have a proposed construction cost, and 3-D image of the pool organized for you to review.

Step 2
Permits & Approvals
We shall acquire the permit for the construction of the pool and decking. Permits for electric and gas utility hook-up shall be obtained by the person contracted to do said work. Any supplementary permits, such as for a poolside, cabana or easement variance will be the owner or general contractors' responsibility. All plans must comply with the local and state building codes. We will call for all applicable inspections, including footer, plumbing, and electrical bonding.

Step 3
Pool Layout
When the plans have been approved by you, or your authorized representative, and all necessary permits have been obtained, the construction process may begin. Our representative will go over the construction stages with you and help to set the pool elevation. Next, the form boards are set with great care to ensure the pool is in the exact location required.

Step 4
Excavation
After the forms are set, the excavation of the pool may begin. We generally use small, skid-steer front end loaders in order to precisely trim back the pool walls, and to provide added maneuverability within the pool and around the construction site.

Step 5
Structural Steel
The Pool Shell is reinforced with Grade 60 #3 steel rebar, placed horizontally and vertically. The horizontal and vertical bars are placed 8 inches on center to a depth of 5 feet. If the depth of the pool exceeds 5 feet, the horizontal bars are placed at 6 inches on center. Steel schedule is determined by the licensed engineer.

Step 6
Stub Out
Rough plumbing, or “stub out” is done immediately following steel installation. This entails the installation of main drains, skimmers, light, niches, return line “stubs” and pre-plumbing of raised spas.

Step 7
Pool Floor and Gunite Application
The walls and floor of the pool consist of a mixture of sand and cement (gunite) that is applied through a hose with highly pressurized air to achieve a compressive strength of 4000 psi. Gunite is a specialized process, enabling the custom shapes of pools, spas, and fountains.

Step 8
Tile, Coping and Grout
After the completion of the gunite phase, you will be asked to choose a decorative tile for the pool. We have a selection of over 150 different tiles for you to choose from. No matter what colors, textures, and materials are being used for the project, we will have something to fit your taste. You will also be asked to select a grout color, we typically recommend the grout to match the pool plaster to create a seamless look.

Step 9
Plumbing
The plumbing for each pool is designed specifically to give it the best circulation and filtration for crystal clear water and ease of maintenance. We perform hydraulic calculations to ensure that all equipment and piping are of the correct size to combine water clarity and energy conservation. All plumbing is pressured to 35 pounds of pressure for 24 hours and inspected.

Step 10
Equipment Setup
An experienced installer will come to the site and plumb in all of the filtration equipment for the pool, including water feature pumps, and other optional equipment from our preferred vendor: Jandy.

Step 11
Decking
The pool deck should reflect the overall theme for the project, including color, pattern, and type. Several pool decking options, such as brick and stone are available to complement the other materials used on the job. Pavers in stone are predominantly set on 4 inches of compacted crushed concrete, a process called “Sand Setting”.

Step 12
Pool Finish (Plaster)
The pool interior is coded with your choice of materials, from a standard white finish, or one of the many PebbleTec or Florida Stucco Gem finishes. Different finishes render different effects and moods upon the pool water, and therefore the overall appearance of the backyard area. When the coating is finished, we begin filling the pool with water. That should be the final stage of construction.
*PebbleTec finishes require a second day of acid washing, so the plaster is a two day process.

Step 13
Start Up & Instruction
Once full, a service technician will come out to your home to check the installation and start all pool and/or spa equipment. Once the equipment has been started up, and the pool is fully operational, our service manager will set up a time to come to your home and show you maintenance operations. If you do have questions or require technical support, or trained personnel are only a phone call away.
